Checklist for Outdoor LED Lighting Design
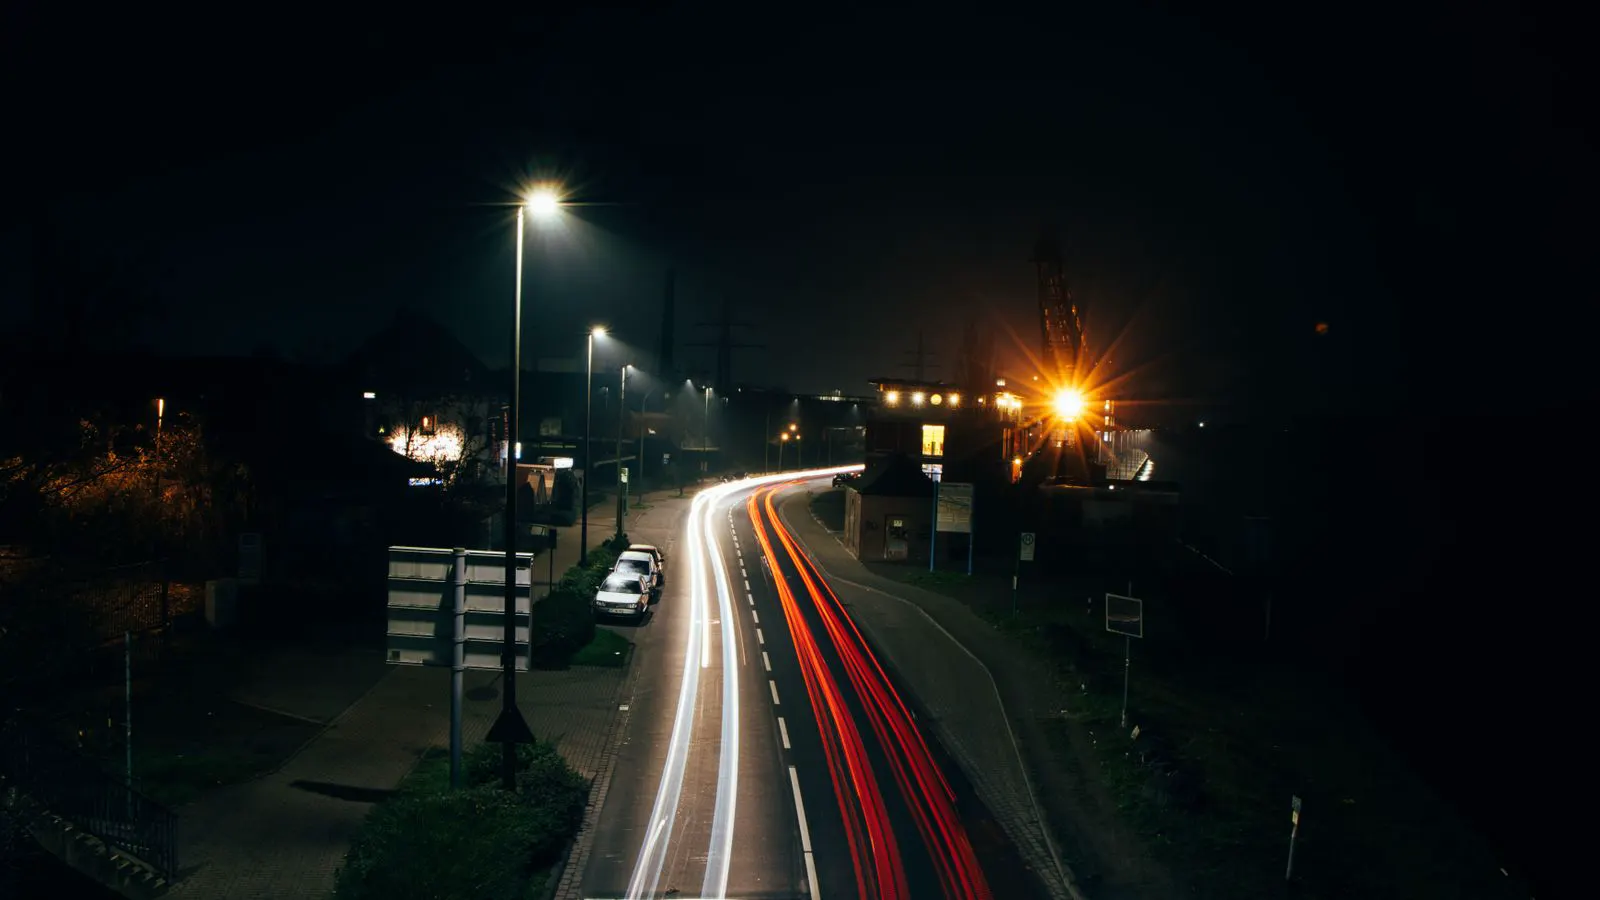
This checklist reviews key factors for outdoor lighting design. It covers street light placement, road lighting safety, maintenance access, and site-specific risks. Use it to catch errors before construction begins.
- Verify pole height, luminaire angle, and spacing to reduce glare and dark zones.
- Check local codes and safety standards for mounting, wiring, and emergency access.
- Review maintenance plans for access, spare parts, and failure response.
- Match fixtures to the environment, including weather, traffic, and surrounding structures.
- Document every decision to simplify approvals, inspections, and future upgrades.
Define the project scope and site conditions
Start with the ground truth. Walk the site. Note the road width, traffic speed, pedestrian paths, and nearby buildings. A street light design changes quickly when the terrain shifts or when a new utility corridor appears.
Check the local authority requirements first. Some regions set minimum illuminance levels for different road classes. Others dictate pole height, spacing, and color temperature. If the plan does not match those rules, the design fails before the first pole goes in.
Document the site in writing. Photograph the route. Mark obstacles, existing lighting, and drainage. This record protects the design team and helps inspectors verify that the final build matches the approved plan.
Set the lighting levels and quality targets
Choose a target illuminance level based on the road function. A high-speed road needs a different approach than a low-speed residential street. Higher levels improve visibility but increase energy use and glare. Lower levels save power but may leave dark zones that create safety gaps.
Consider uniformity. A street light that throws a bright spot but leaves the shoulder dark creates a visual trap. Drivers adapt to the bright area and miss hazards at the edges. Design for even coverage where possible.
Pick a color temperature that suits the route. Cooler white light offers better contrast for wet roads but can cause more glare. Warmer light is easier on the eye at night but may reduce contrast. The choice depends on traffic volume, weather patterns, and nearby residential zones.
Plan fixture placement and pole height
Pole height and luminaire angle set the light footprint. A taller pole covers more distance but throws light farther from the road center. A lower pole keeps the light closer to the pavement but may require more fixtures to cover the same stretch.
Match the luminaire type to the mounting position. Full-cut-off fixtures reduce glare toward drivers and pedestrians. Wide-beam fixtures spread light wider but can spill onto private property. Check the beam pattern against the pole height before finalizing the layout.
Use a spacing pattern that avoids dark patches. A common mistake is to space poles evenly without checking for shadows from trees, buildings, or embankments. Test the layout with a simple diagram or a 3D model. If a dark zone appears, adjust the spacing or add a secondary fixture.
Review safety and emergency requirements
Road lighting must support emergency response. First responders need to see the scene quickly. A dark spot near an intersection or a narrow bend can delay intervention.
Check the wiring and grounding. Outdoor circuits face moisture, heat, and physical stress. Use rated enclosures and proper cable types. Verify that the ground fault circuit interrupter or equivalent protection meets local electrical codes.
Include emergency lighting if required. Some projects need backup power for traffic signals or area illumination during grid outages. Confirm the backup source and runtime before finalizing the design.
Address maintenance and lifecycle costs
A street light that cannot be maintained becomes a liability. Plan access before installation. Can a lift reach the fixture? Is the pole base clear of parking or landscaping? Can a technician replace a lamp without climbing the pole?
Choose components with standard interfaces. If the local supplier stock is limited, custom fixtures can cause long delays. Standard lenses, drivers, and connectors reduce downtime when a part fails.
Build a spare parts plan. Keep a small stock of drivers, lenses, and cable connectors on site. A failed driver can go dark for weeks if the replacement must ship from a distant warehouse.
Check weather, environmental, and electrical factors
Outdoor lighting faces a harsh environment. Salt air, dust, rain, and temperature swings affect every component. Select fixtures with the correct ingress protection rating for the location. A coastal site needs a higher rating than a dry inland area.
Check the electrical supply. Voltage fluctuations and poor grounding can damage drivers and extend the lifespan. Verify the utility capacity before adding a large number of fixtures. A weak supply can cause flicker or premature failure.
Review the thermal design. Fixtures trap heat. Poor ventilation or blocked airflow shortens the life of internal components. Leave space around the fixture and avoid mounting it in a location where debris accumulates.
Document the design for approval and inspection
Every decision needs a paper trail. The design package should include the site survey, layout drawings, fixture specifications, and electrical calculations. This document supports permits, inspections, and future upgrades.
Record the rationale for each choice. Why this pole height? Why this color temperature? Why this spacing? The explanation helps inspectors and future engineers understand the logic. It also speeds up approvals when the team asks for changes.
Keep the as-built drawings updated as construction proceeds. Field changes happen. A shifted pole or a rerouted cable must be recorded. Without this, the maintenance team works from an outdated plan.
| Design Element | Key Check | Red Flag |
|---|---|---|
| Pole Height | Matches road class and local code | Height too low for the traffic speed |
| Luminaire Angle | Beam pattern fits the road width | Glare toward drivers or pedestrians |
| Spacing | No dark zones between fixtures | Dark patches near intersections or bends |
| Electrical Supply | Capacity and grounding verified | Voltage fluctuations or poor grounding |
| Maintenance Access | Lift or safe access to fixtures | Obstructed access or no spare parts plan |
Final review before construction
Run a final walk-through with the project manager and the electrician. Check the drawings against the site one last time. Confirm that all fixtures, poles, and cables match the approved list.
Ask for a test plan. How will the team verify the light levels after installation? How will they check for glare and dark zones? A simple test plan prevents costly rework later.
Sign off on the checklist. Each item should be marked as verified. If an item is uncertain, note it and assign a follow-up. A completed checklist is a shared responsibility. It keeps the project on track and protects the team from surprises.
Common mistakes to avoid
- Ignoring local codes. Always check the municipal or national standards for road lighting.
- Overlooking glare. A bright fixture can create more danger than a dim one.
- Poor maintenance access. If a technician cannot reach the fixture, the design fails.
- Inadequate documentation. Missing drawings cause delays and disputes.
- Ignoring the environment. Weather and terrain affect every component.
- Skipping the test plan. Without verification, the team does not know if the design works.
When to bring in an outside expert
If the site includes a highway, a tunnel, or a complex intersection, bring in a lighting consultant. These projects require specialized calculations and local knowledge. A consultant can review the plan and catch errors that the internal team may miss.
A second opinion is cheap compared to a failed inspection. A single mistake in the layout can cost a full redesign. An independent review saves time and money.
Conclusion
A strong outdoor lighting design starts with a clear plan and a thorough checklist. Verify the site, set the targets, choose the fixtures, and document everything. A well-executed project delivers safe, efficient lighting that lasts for years. A poorly planned one creates glare, dark zones, and costly rework. Use this checklist to keep the project on track and the final result in line with the goals.
Frequently asked questions
How do I check if my street light spacing is correct?
Use a diagram to map the light footprint. Look for dark zones between fixtures. If a gap appears, adjust the spacing or add a fixture.
What is the best pole height for a road?
It depends on the road class and local codes. A higher pole covers more distance but throws light farther. A lower pole keeps the light closer to the pavement.
Do I need a backup power system?
It depends on the project requirements. Some areas need backup for traffic signals or emergency response. Confirm the requirement with the local authority.
How do I choose the right color temperature?
Consider the traffic volume and nearby residential zones. Cooler white light offers better contrast but may cause more glare. Warmer light is easier on the eye.
What should I include in the design package?
Include the site survey, layout drawings, fixture specifications, and electrical calculations. Document the rationale for each choice. This supports approvals and inspections.